The Beginnings of the New Stitch

Banner #1 for Beginnings

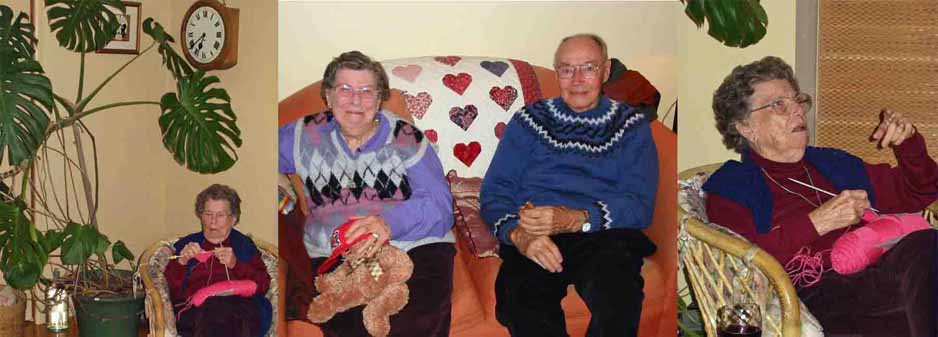
My parents were coming to stay. There’d be lots of sitting round talking. Always useful to have plenty of knitting on hand at such times. Mum usually had lots to tell me from her genealogical diggings and this time was no exception.

I was working with multi strands of a 4ply yarn that I love to use whenever possible. Single strand work always looked good in the stranded patterns that I’d come to call Feral Knitting and this time I was doing ‘one by one’ stranding with two balls of yarn and medium needles. Let’s call the yarns A and B. ‘One by one’ stranding simply means knitting the first row ABABABABAB and purling back ABABABABAB. I was alternating the yarns ………. if the next stitch was A, I used B and vice versa.

This was easy enough to do when talking – I’d done it lots of times before. I could certainly have done so blindfold. …….it’s amazing what your fingers know about knitting. As it turned out though I was only doing plain rows. Instead of having nice smooth stocking stitch on one side with all the floats from the stranding on the purl side I had a flat reversible garter stitch like fabric with the short floats from the stranding appearing on both sides.

I liked what I saw.

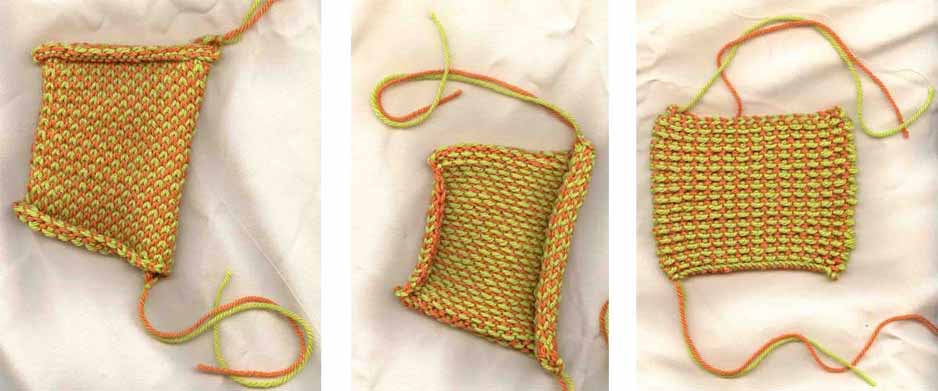
These aren’t the original pieces of Woven Garter but are close. The yarns used here are two four ply yarns – one in hand painted pastels, the other a medium blue. In the left hand sample the multi coloured yarn is dominant – in the right it’s the blue.
These samples help explain how Woven Garter works. The left hand sample shows the ‘right’ side of the 1x1 stranded stocking stitch technique that I thought I was doing when chatting to my mother. The middle one is the reverse or purl side of the same piece.  Several things to notice here. The sample curls at the edges – I would need to block or press it to have it sit flat. In the middle sample the lighter coloured lime yarn is dominant. Those ‘dash’ type bits are the floats or carried bits of yarn. The darker yarn floats are also there but are masked by the lime ones. The sample on the right is the same yarns knitted in Woven Garter. Note that the sample is flat and doesn’t need blocking.  There’s no picture of the reverse side because Woven Garter pieces are reversible – just as normal Garter stitch is. Note too that it is almost square – there’ll be more about this in the Geometry of Woven Garter Section later. The last thing to note is that you can see the lime floats again as the dominant feature. In this sample the lime yarn was used as what I later came to call Yarn A and the orange one was Yarn B.
These samples help explain how Woven Garter works. The left hand sample shows the ‘right’ side of the 1×1 stranded stocking stitch technique that I thought I was doing when chatting to my mother. The middle one is the reverse or purl side of the same piece. Several things to notice here. The sample curls at the edges – I would need to block or press it to have it sit flat. In the middle sample the lighter coloured lime yarn is dominant. Those ‘dash’ type bits are the floats or carried bits of yarn. The darker yarn floats are also there but are masked by the lime ones. The sample on the right is the same yarns knitted in Woven Garter. Note that the sample is flat and doesn’t need blocking. There’s no picture of the reverse side because Woven Garter pieces are reversible – just as normal Garter stitch is. Note too that it is almost square – there’ll be more about this in the Geometry of Woven Garter Section later. The last thing to note is that you can see the lime floats again as the dominant feature. In this sample the lime yarn was used as what I later came to call Yarn A and the orange one was Yarn B.

I started playing and experimenting using different yarns and different sized needles. I searched through all my books and magazines and consulted more experienced knitters, expecting to find the stitch somewhere. I was keen to find what it was really called and what uses others had put it to because I couldn’t, and still can’t, believe that someone, somewhere hasn’t made the same ‘mistake’ as I had. In the meantime and for convenience I started calling it Superb or Super Garter and started making items using the stitch. For a while I changed the name to Stranded Garter that being a better description. But on the internet I found a Double Stranded Garter stitch that was quite different so I’ve now decided to call it Woven Garter as suggested by a friend, to avoid further confusion.

During the searches the closest related idea I found was in Montse Stanley’s The Handknitters Handbook. She describes Garter-stitch jacquard in which two yarns are stranded in each row and there are no purl rows. But it’s different from Woven Garter as she talks about taking the floats to the wrong side so that they don’t appear on the right side.

In some ways Woven Garter is also similar to a technique I’ve read about from Scandinavia called Twined Knitting. Montse Stanley describes a similar process as Two-strand knitting. Nancy Bush calls it Two End Knitting.
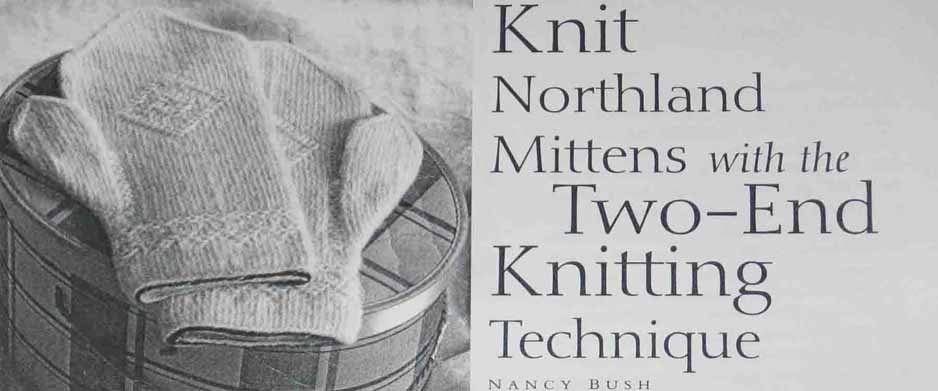
Most of the Twined, Two-strand or Two End knitting described is done in stocking stitch. In Twined knitting they sometimes do purl stitches or a whole row of purl which creates a decorative effect. In the Two-strand knitting Stanley suggests ‘Moving one yarn to the right side whilst working with the other’ which ‘creates a horizontal bar’ which can be used to form patterns. The small sections of these patterns can look like some of the circles in Woven Garter but are very different because there are no purl rows just many circles and bars.

Back to: Woven Garter Stitch

Home